Author: beth

  • Creating glass slump casts

    Glass slumping is a glassworking technique that uses heat and gravity to shape glass into or over molds. A pane of glass, known as a billet, is balanced on top of the slump mold. As it’s fired, it melts to fill or cover the mold form. You do get folds where the glass overlaps, and it’s not an exact process, but it can be really effective and it’s the closest technique I have to hand to create an empty jelly mold form in glass.
    I made a rabbit jelly slump mould by plaster casting some metal molds with the same plaster mix I used for the wax casting.
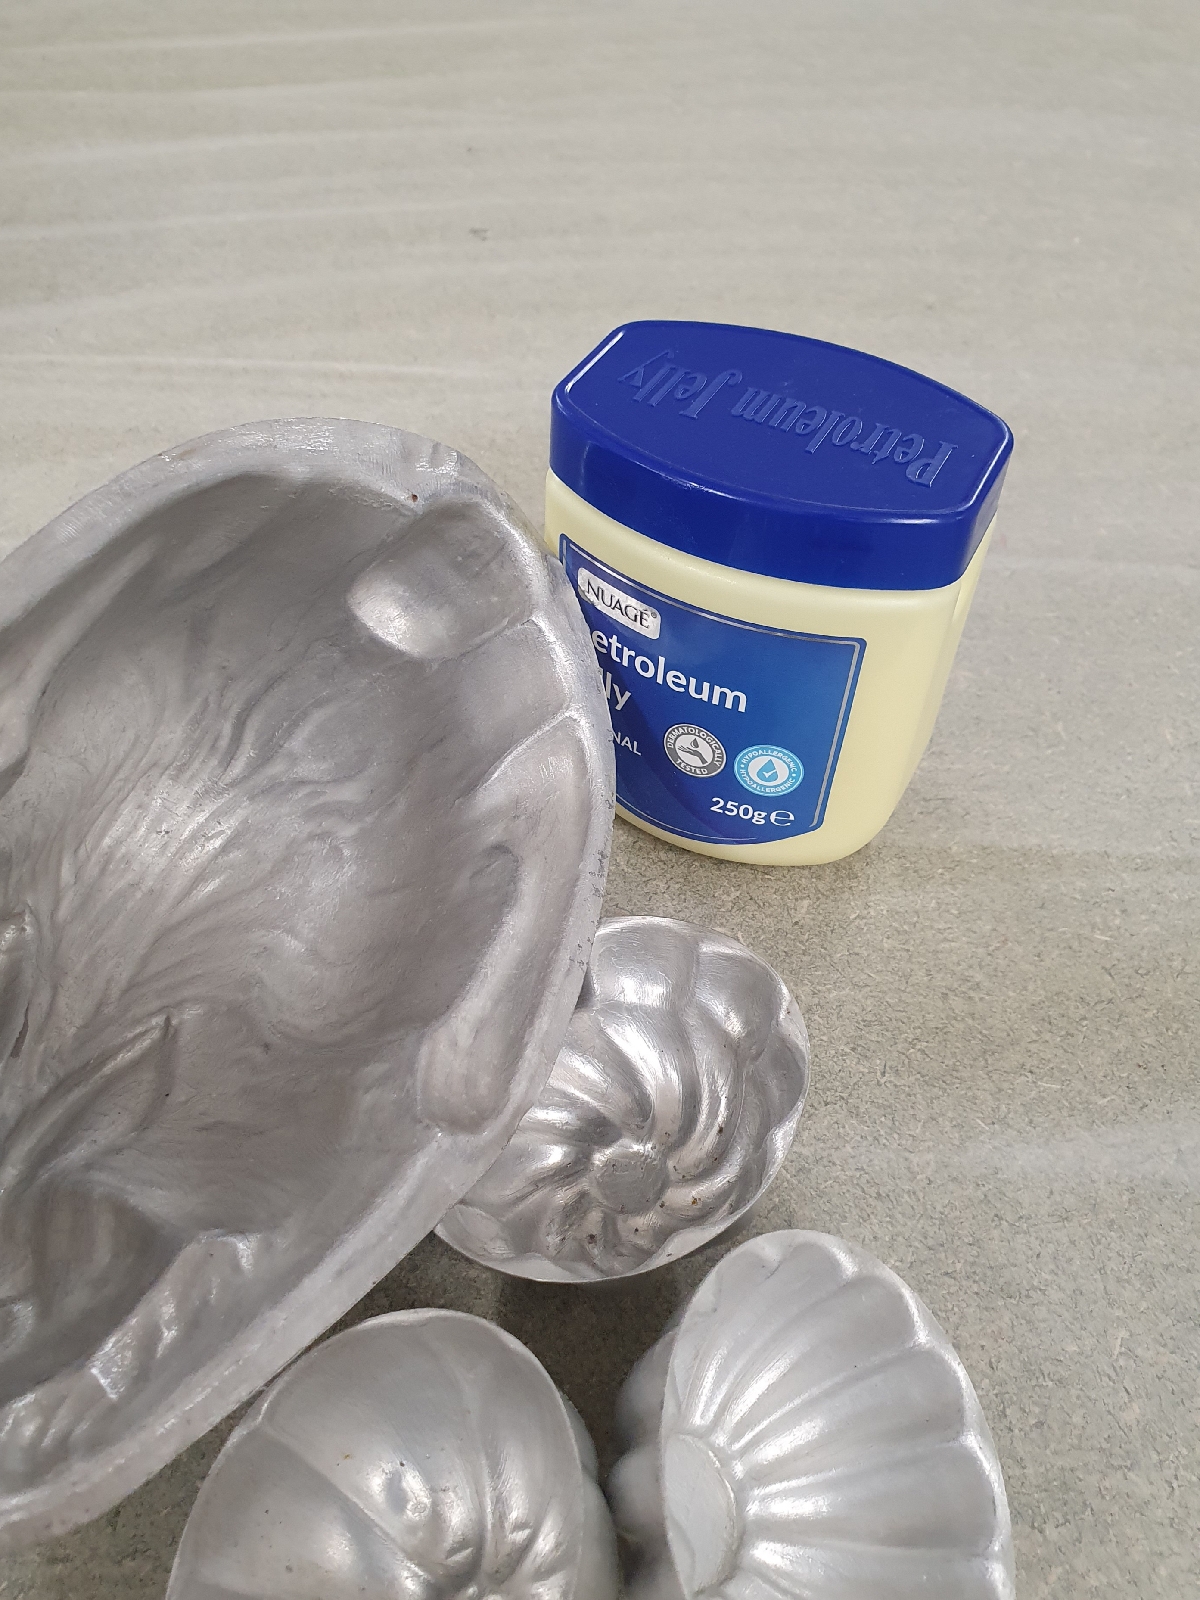
    I applied a thin layer of Vaseline to the interior of the moulds as a resist to help me pop the plaster out once vaguely set. The trick is to apply an effective but thin layer so it does the job without losing any surface detail.
    Despite the resist, the plaster was still really hard to remove, but it did eventually budge after a fair amount of percussive maintenance. 
    It was all worth it because the level of detail is brilliant.
    There are some bubbles in the smaller pieces so I still need to refine my plaster cast technique. But overall I’m happy with my plaster casting resulting.
    I am going to run some tests using the smaller jellie molds, to make sure that I set them up in the kiln the right way. When I’ve perfected the technique, I will slump cast the rabbit using a billet from the below shop: 

  • Burning out the wax from my investment molds

    I used an old wallpaper stripper as a steam source to burn, or rather melt, the wax out of my glass investment moulds. The bloke that I bought it off said it was new, which it clearly wasn’t. Still, it works fine and I really hope that the new Tesla parked outside his house doesn’t set fire whilst being driven.
    If you replicate this process, I cannot stress enough that you must only use a steamer that you can destroy. Because you will destroy it.
    I created a triangular scaffold with spare wood, using this to balance each upturned mold over a bucket to catch the wax as I melted it out with the steamer nozzle. It was a lengthy, messy process and the outside looked really unfortunate throughout. But eventually both were completely empty of wax and clean inside. 
    In order to calculate the volume of the glass I needed to cast in total, I filled up the molds to the level that I wanted the glass to sit at with water, then poured this water into a container and weighed it. This gave me an accurate value for the weight of glass I need for each mold.
    When the molds were dry after weighing, I was finally ready to cast. I decided to cast one castle in red glass and the other in purple. I wonder which will show more clearly when sat under a pink cloche.
    I sourced the frit from the shop below and will cast when it arrives:
  • Creating glass investment molds and the lost-wax process

    I have never worked with glass, beyond smashing the odd jar, so I am looking forward to learning some new skills during this project.

    I was lent an enormous block of Type B modeling wax in the shape of a heart. It was quite hard to work with until broken down into smaller pieces. Fitting really.

    I am sculpting a positive castle model in this wax, which I will then cast to create a negative investment mould. An investment mold is a container for solid glass pellets to be poured into and then melted in a kiln, using a specific investment powder. The powder is made up of plaster and a refractory material mix; the latter being some form of quartz, usually silica. When combined, the two powders support each other and are therefore able to retain their structural integrity at glass-casting firing temperatures; around 900⁰C.  
    After melting the wax out with steam, also known as a burn-out process, I will cast the investment mold using glass pellets, also known as frit.
    After experimenting with lots of detail and design elements, I settled for a primitive abstract form. 
    I am not trying to depict a specific castle, I am trying to evoke the qualities and concept of a castle, so this is an acceptable choice. It is also pleasing to mine eye. That’s an Alan Partridge quote.
    I attached a cardboard tube to act as a glass reservoir in the base. The frit takes up more volume solid than it does liquid so this mechanism will feed a steady supply of glass into castle mold as it melts.
    I glued the cardboard tube to the bottom of a disposable container and then sunk it in an equal parts mix of luke warm water, plaster, quartz and molochite. 
    The castle piece started floating as I submerged it, so I held it in place with a piece of pasta until the plaster mix was set enough to remove it and plug the hole using my finger.
    After the mold had set for a few days I removed it from it’s plastic tub and peeled out the cardboard tubing, setting it to one side to dry further. 
    Next up: extracting the wax using a second hand steamer. What could possibly go wrong?!
  • What do?

    What do?

    I was gifted these over the weekend and my mind has been turning over the possibilities they offer ever since.
    The lady who passed them on to me told me about Mannequin Hall in Grantham which I am now obsessed with and need to visit and document https://mannakin.com/welcome-to-mannakin-hall/


  • Florence Houston

    Florence Houston

    Florence Houston is a UK based celebrated painter who studies jelly, and food in general, a lot, so naturally I feel a huge affinity with her. 
    She says that she enjoys painting the ordinary with drama and reverence, and she is particularly drawn to reviving the 70s aspic trend which saw impossible things suspended in impossibly garish gelatin.


    She talks more about her work in this Guardian article.
    And you can find out more about her at her webiste https://www.florencehouston.com/

  • Jelly building experiments

    I spent a weekend setting various concentrations of gelatin and water in various molds and containers. 
    I just wanted to familiarize myself with the properties of the material a bit more and test its limits structurally.
    While I did manage to capture a good amount of detail in some of the test pieces, the whole experience has made me realise that I need to experiment with other possible materials, namely Agar. 
    I’ve sourced some and will have a play this week. Watch this space.
  • Together at last

    Jelly and hair.
    I took these as part of my jelly experiments. I used an infinity screen and a simple directional light with a yellow lens gel; because yellow is complimentary to red.

    I am always really struck by the difference simple lighting and setting techniques make to photography.

    I’m thrilled with these images. They are visceral, emotive and paradoxical. The jelly encased hair looks disturbing and is reminiscent of anatomy, body parts and gore; even though the subjects shot are innocuous and, indeed, typically associated with beauty. It’s their juxtaposition, and the way I shot them, that creates this paradox and gives the images their overall quality.
    The way these images makes me for uncomfortable reminds me of ‘My Loop’ by Helen Chadwick, a favorite piece of mine.